Booking a professional tile and grout cleaning service is easy — knowing what actually happens once someone shows up at your door is a different question, and it’s one we get asked constantly. If you’ve never had it done before, it’s reasonable to wonder whether it’s just a fancier version of mopping or something meaningfully different.
It’s meaningfully different. Here’s the tile and grout cleaning process step by step, exactly as it happens on a real visit across Austin, Round Rock, Cedar Park, Georgetown, Lakeway, Bee Cave, and West Lake Hills.
Step 1: Inspection and Walkthrough
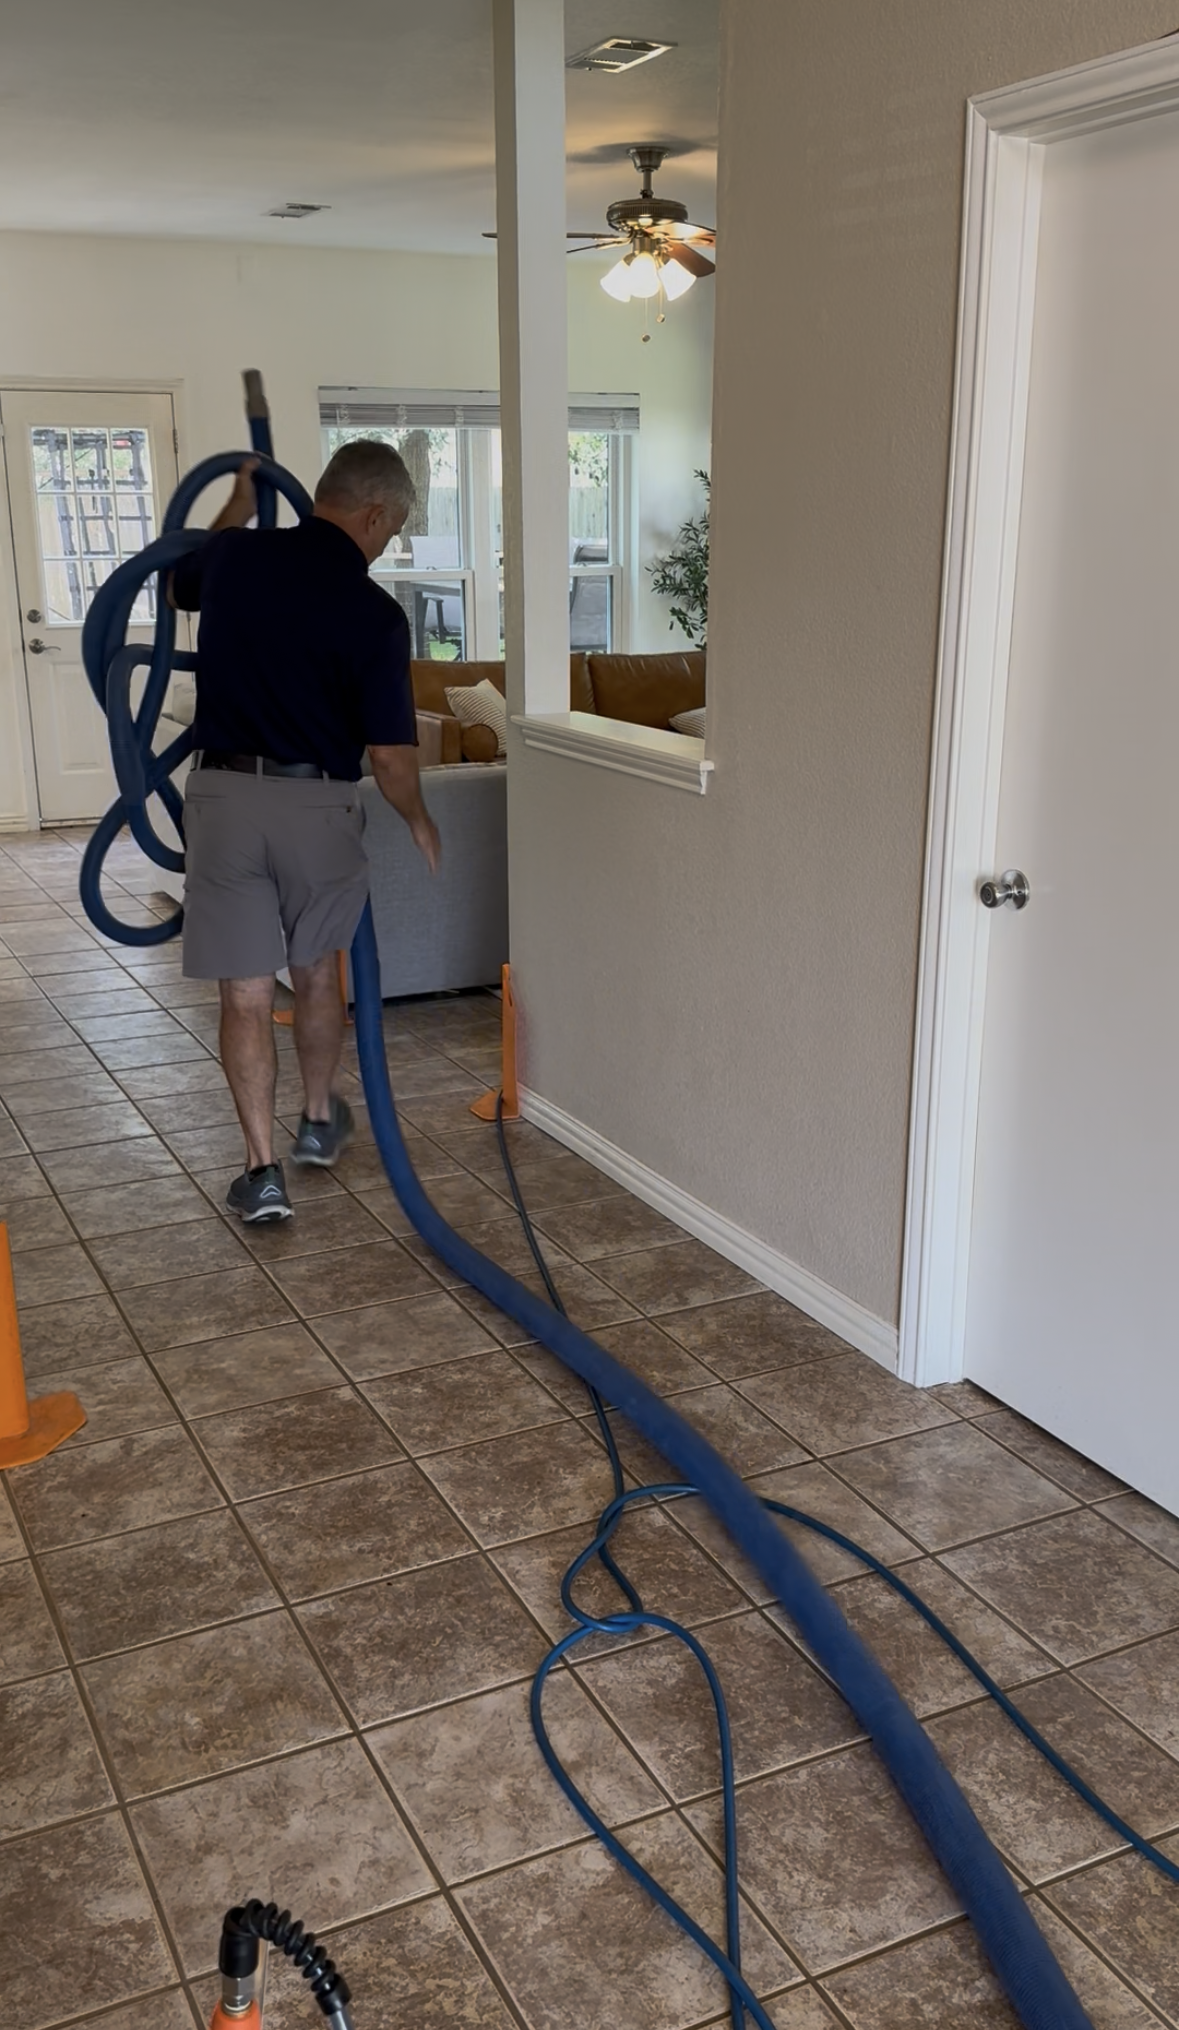
Every visit starts with a walkthrough of the areas being cleaned. This isn’t a formality — grout condition varies significantly from room to room, and the technician needs to identify heavily soiled areas, existing sealant, cracked or damaged grout, and any spots that will need special attention before cleaning begins.
This step also determines whether grout sealing makes sense as a follow-up, since sealing works best on grout that’s already clean and dry.
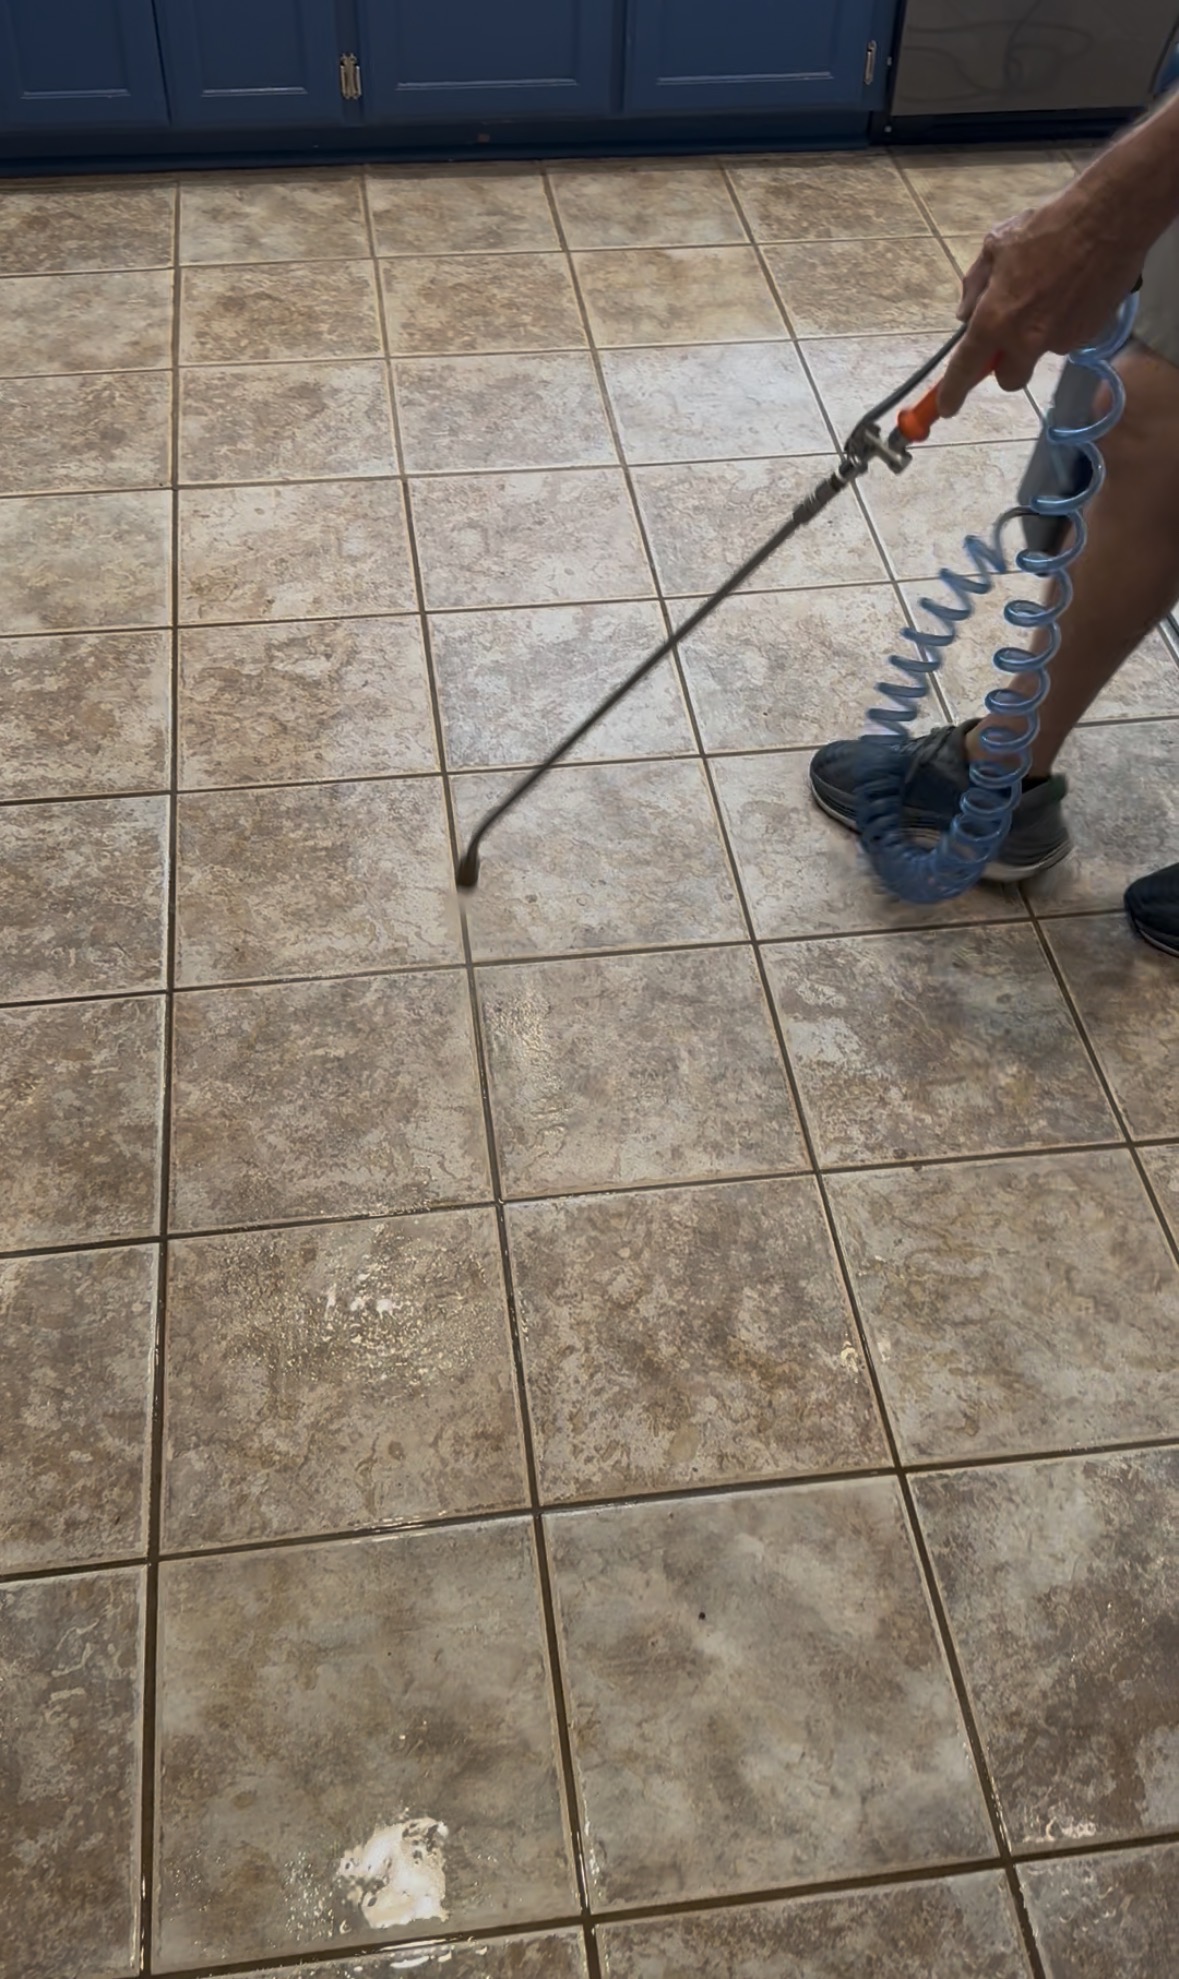
Step 2: Pre-Treatment
Heavily soiled grout lines typically get a pre-treatment application before the main cleaning step. This loosens embedded dirt, oils, and residue so it can be fully extracted rather than just pushed around — the same limitation that makes mopping ineffective on old buildup, covered in more detail in our guide to grout residue removal.
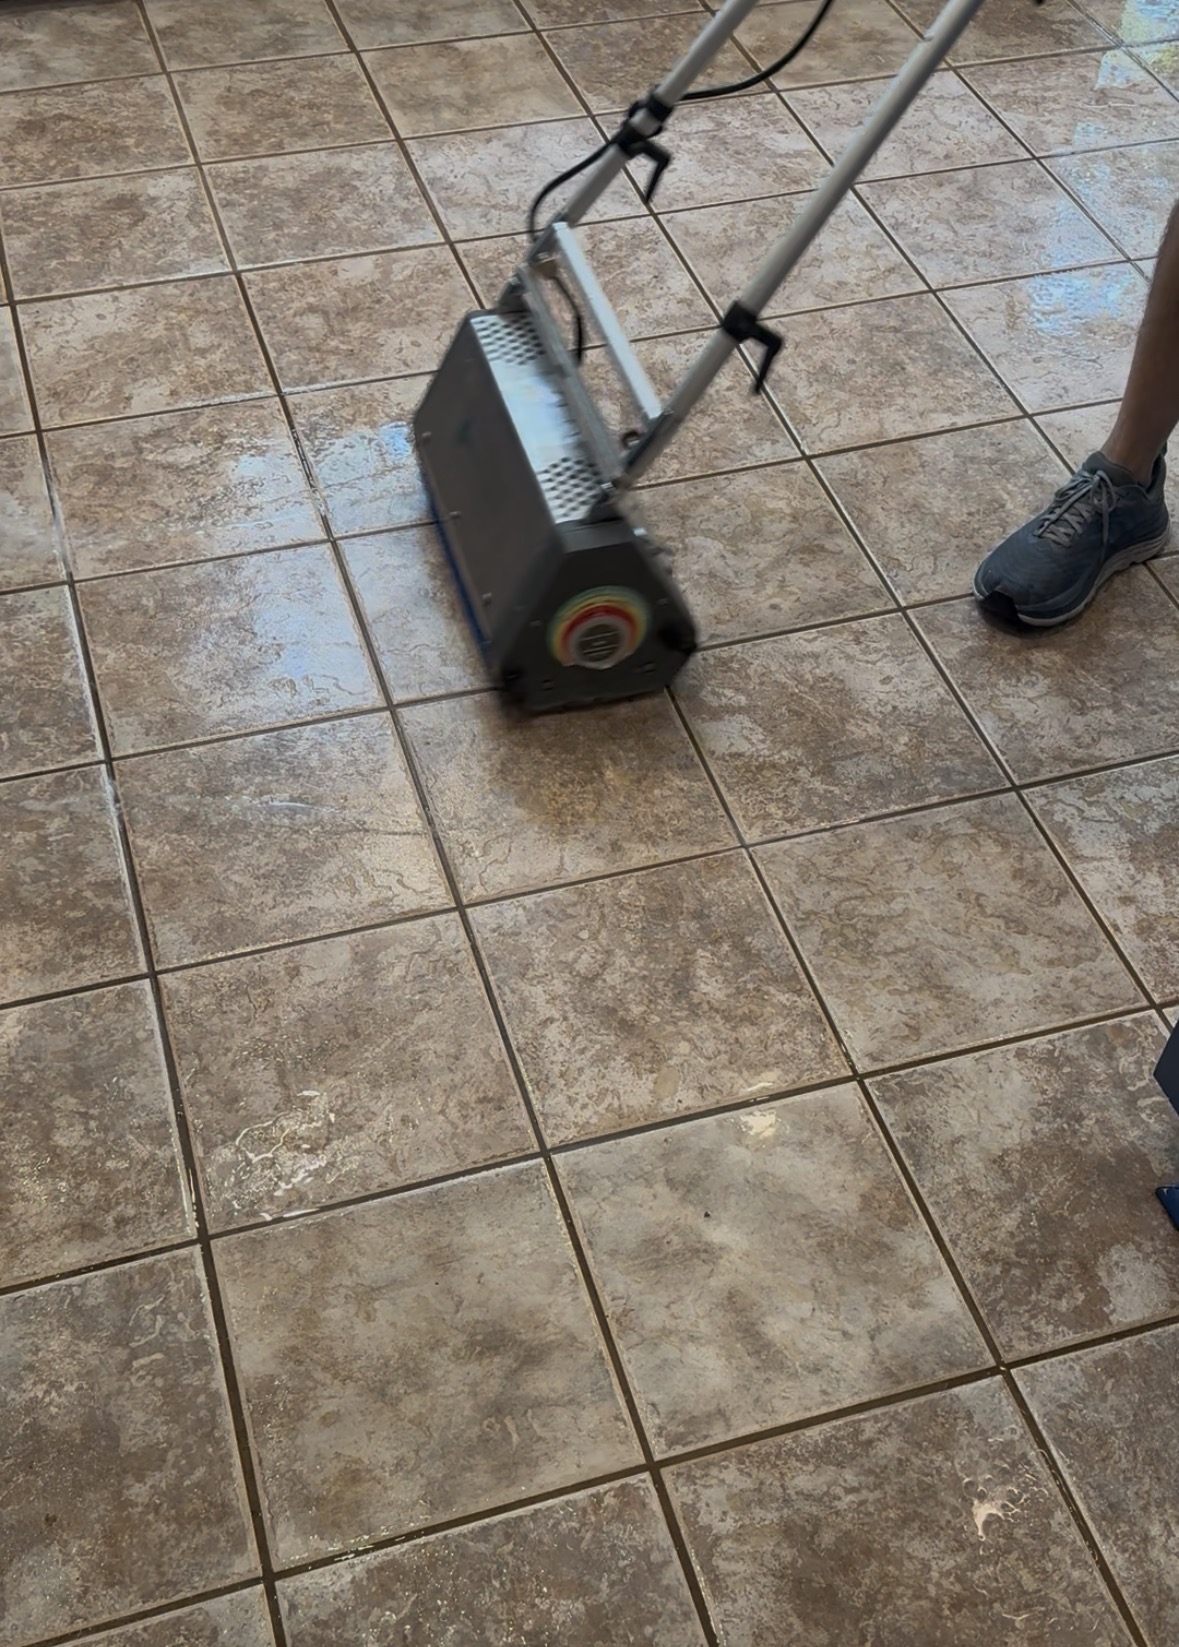
Step 3: Agitate (CRB Agitation)
Once the pre-treatment has had time to work, a counter-rotating brush (CRB) machine is used to mechanically scrub the tile and grout lines. The counter-rotating brushes work the pre-treatment solution deep into the porous grout, physically breaking up embedded soil, grime, and residue that pre-treatment alone can loosen but not fully lift.
This step is what separates professional cleaning from surface-level mopping or hand-scrubbing — the CRB machine agitates far more thoroughly and evenly than manual effort can, and it does so without the risk of over-scrubbing one area while missing another.
Step 4: Hot Water Extraction
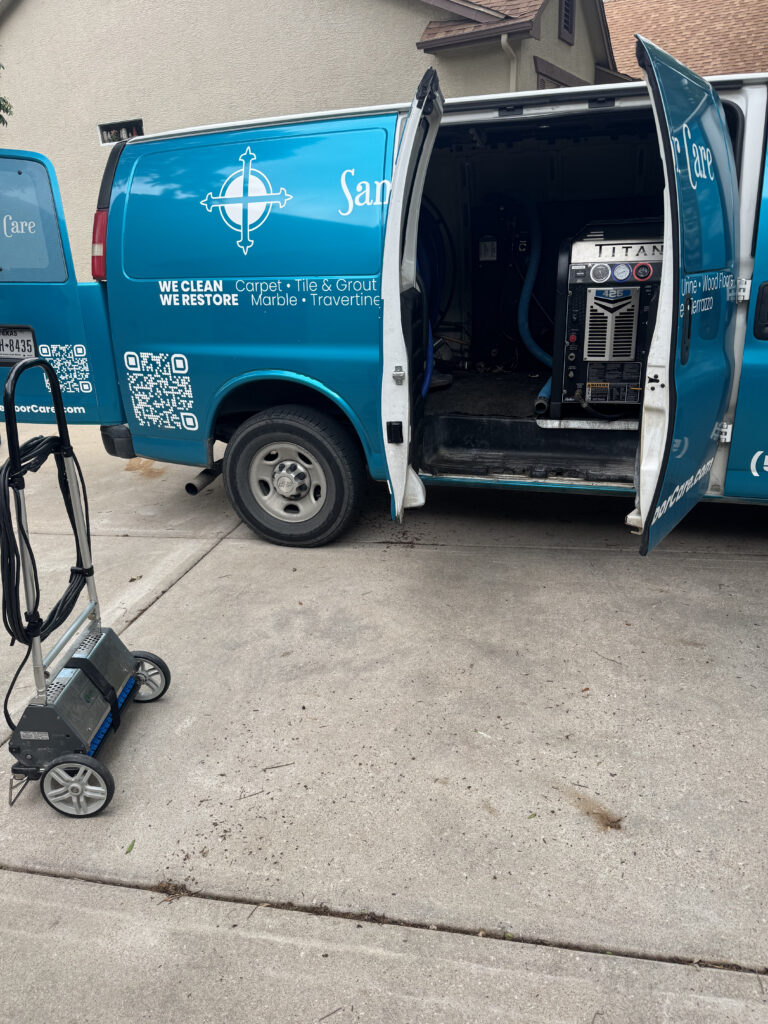
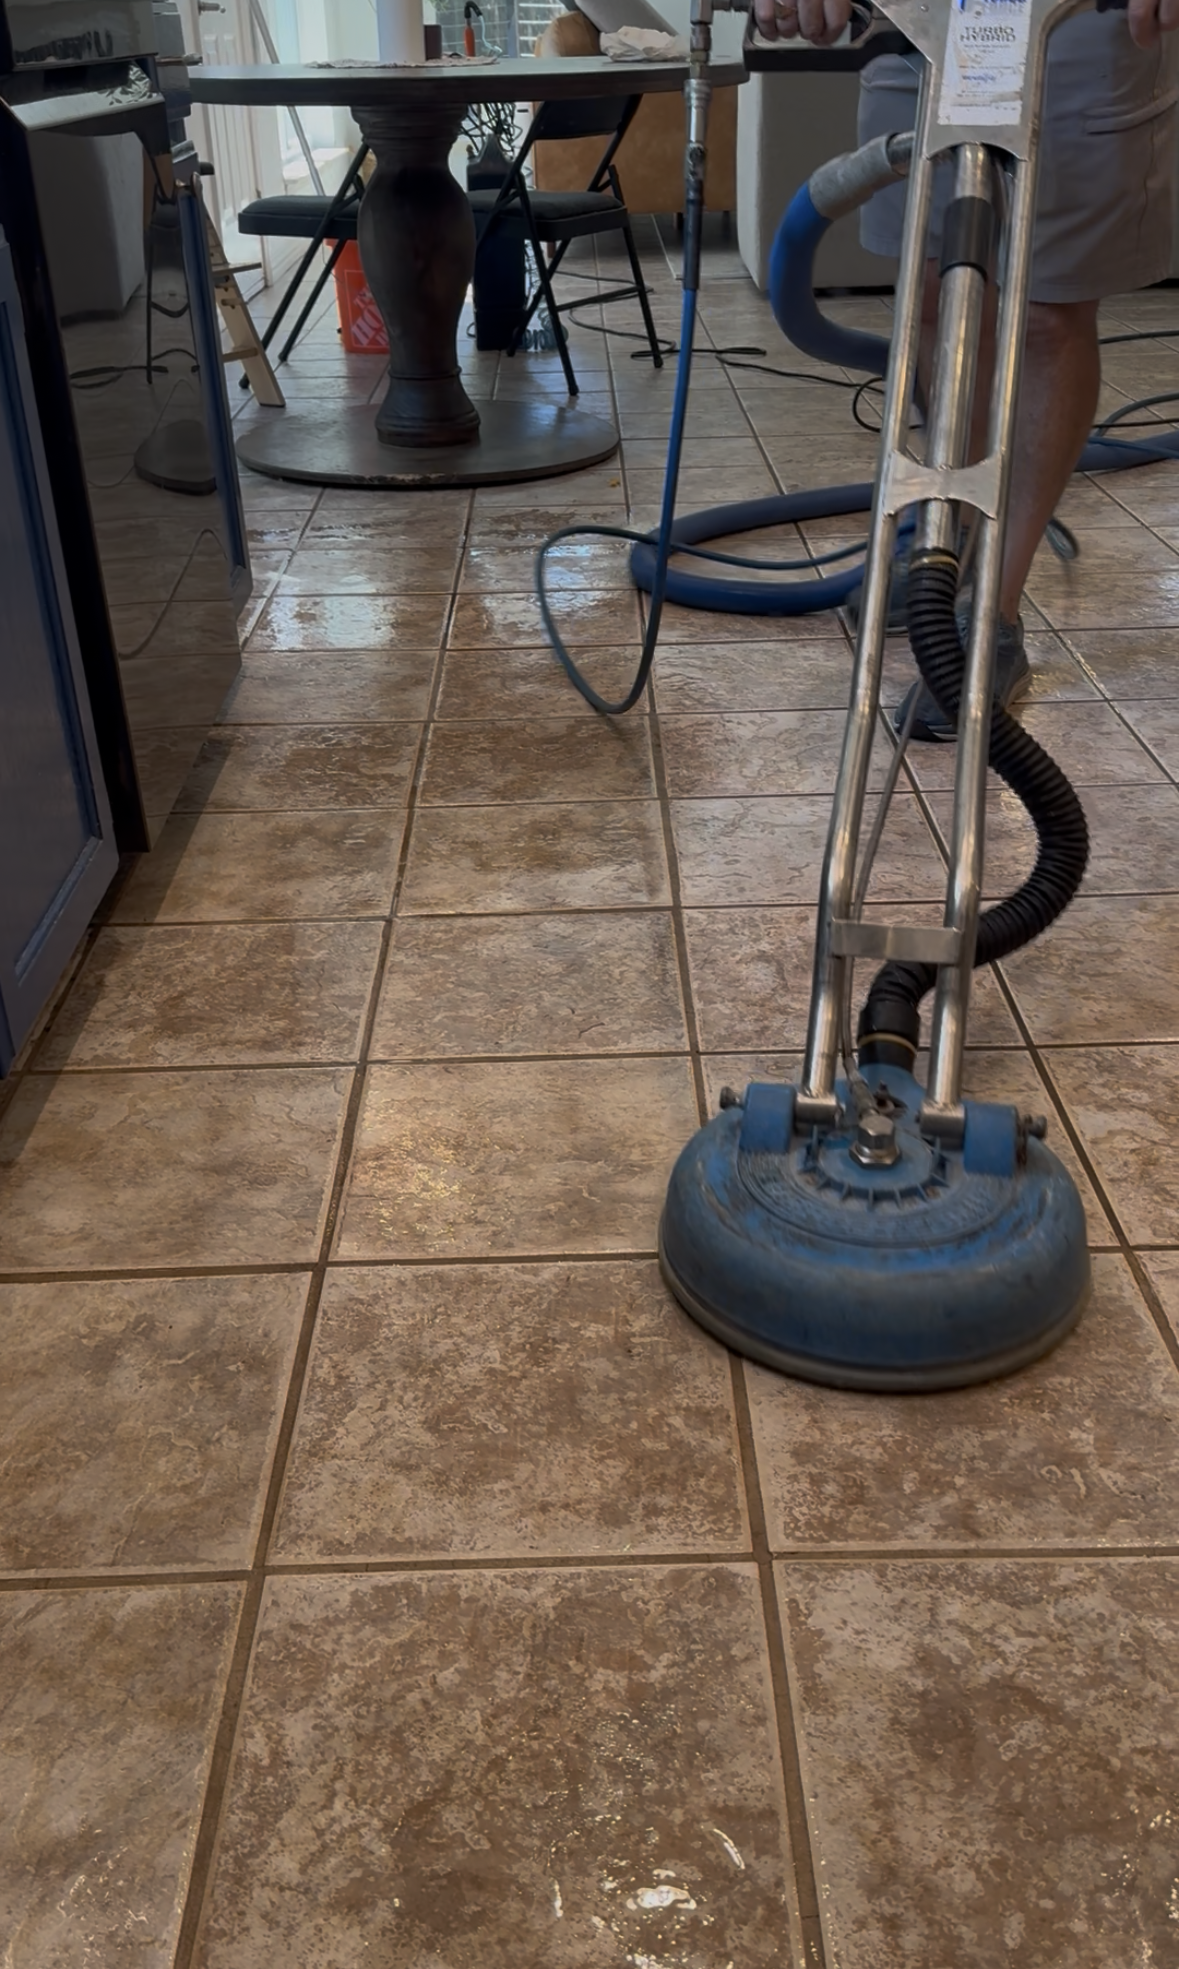
This is where the loosened soil actually leaves the floor. Professional-grade equipment applies hot water at commercial-level pressure directly into the grout lines, then immediately extracts it back out along with the soil the agitation step broke free. This combination of pre-treatment, mechanical agitation, and immediate hot water extraction is what reaches soil that sits below the surface — something a mop, a rented consumer machine, or manual scrubbing alone can’t fully replicate.
The Institute of Inspection, Cleaning and Restoration Certification (IICRC) — the industry body that certifies professionals specifically in stone, masonry, and ceramic tile cleaning — maintains a dedicated certification covering the proper maintenance and cleaning of tile, stone, and grout surfaces, reflecting how much technique actually goes into doing this correctly rather than just applying water and suction.
Step 5: Detail Work
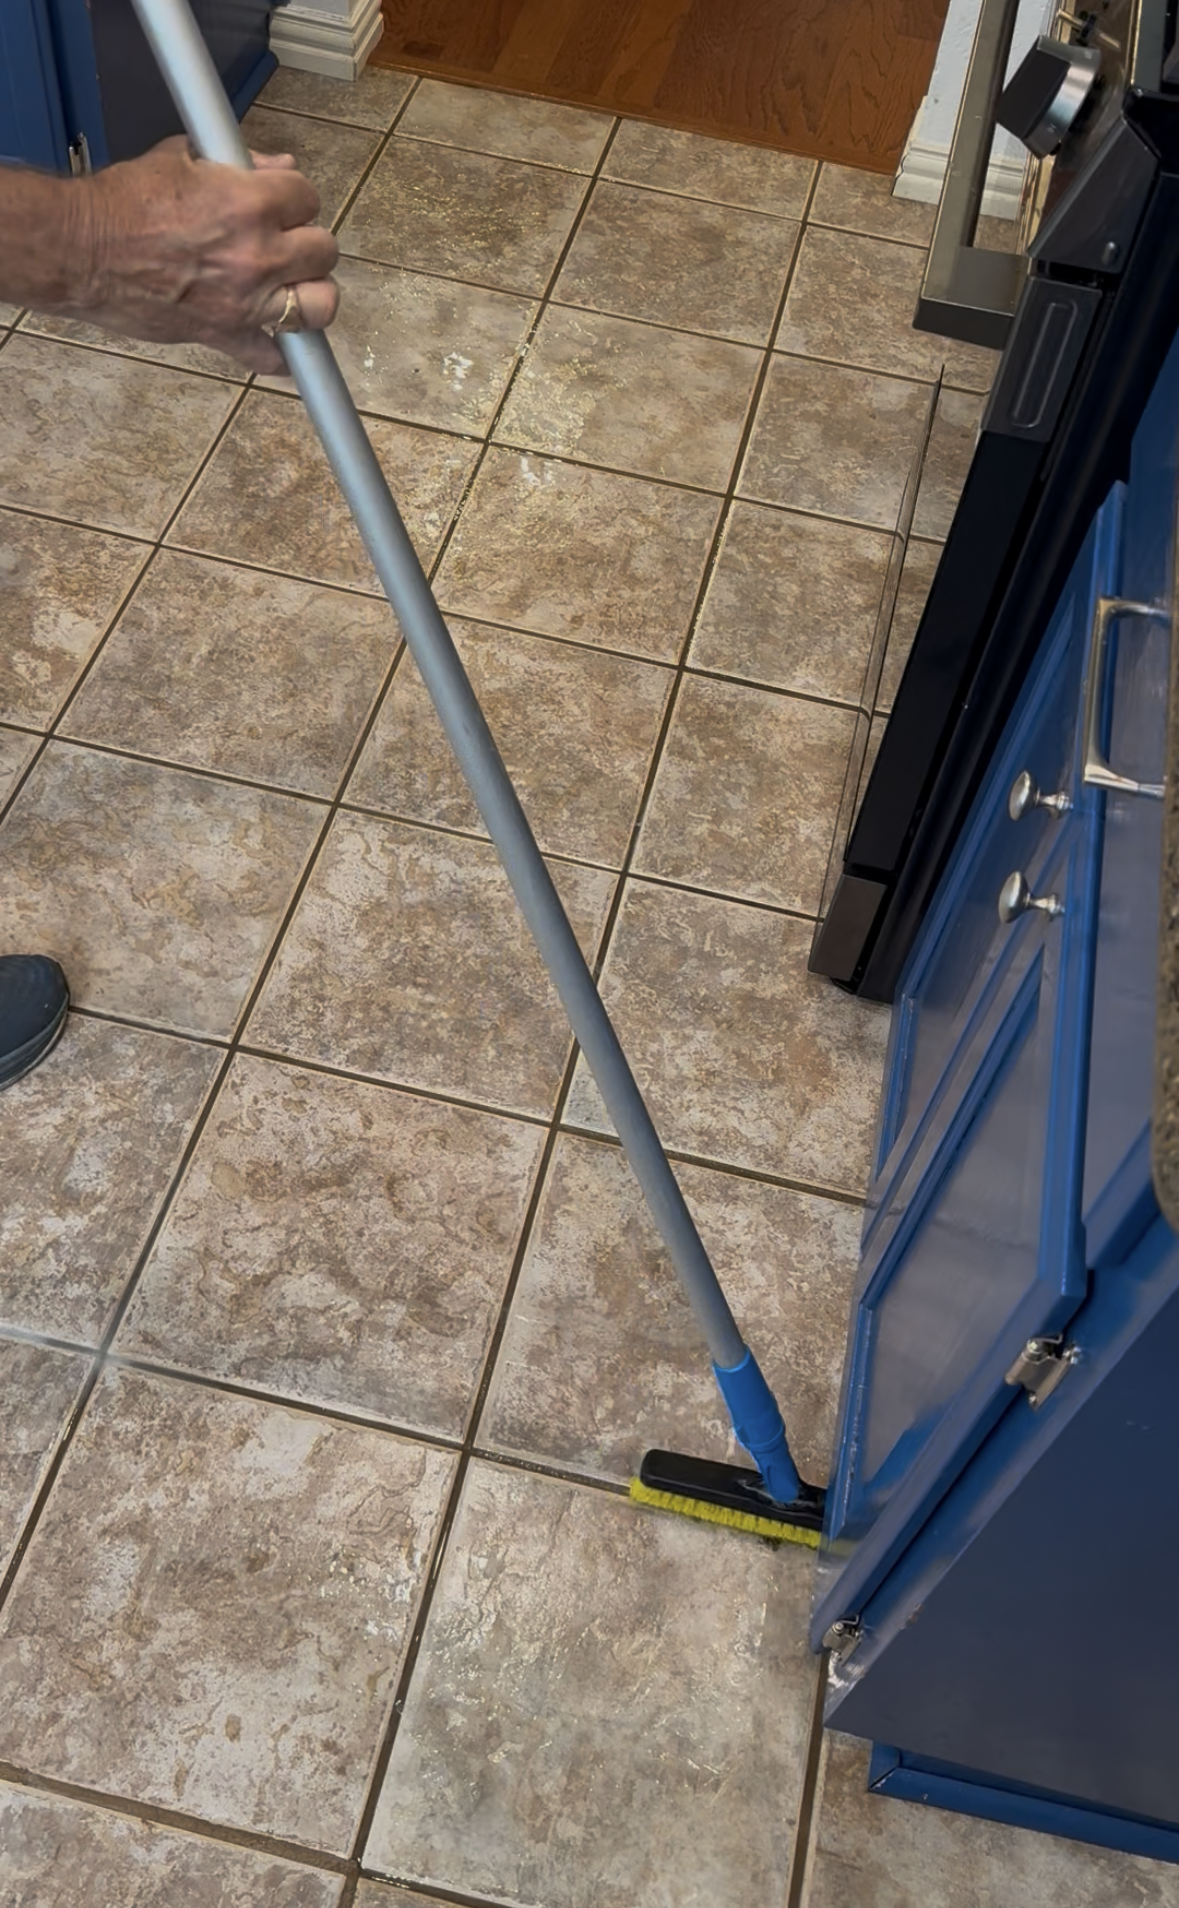
Edges, corners, transitions between rooms, and areas around fixtures often get missed by routine cleaning and need manual detail work to fully address. This step is where a lot of the visible difference in grout color evenness actually comes from.
Step 6: Drying
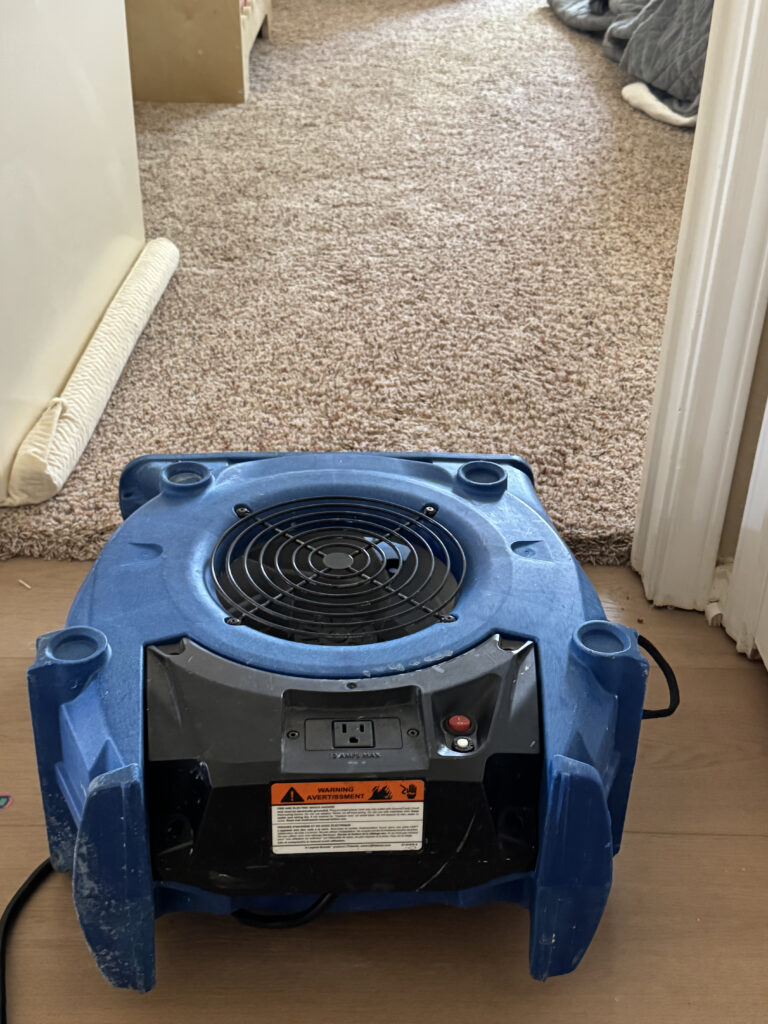
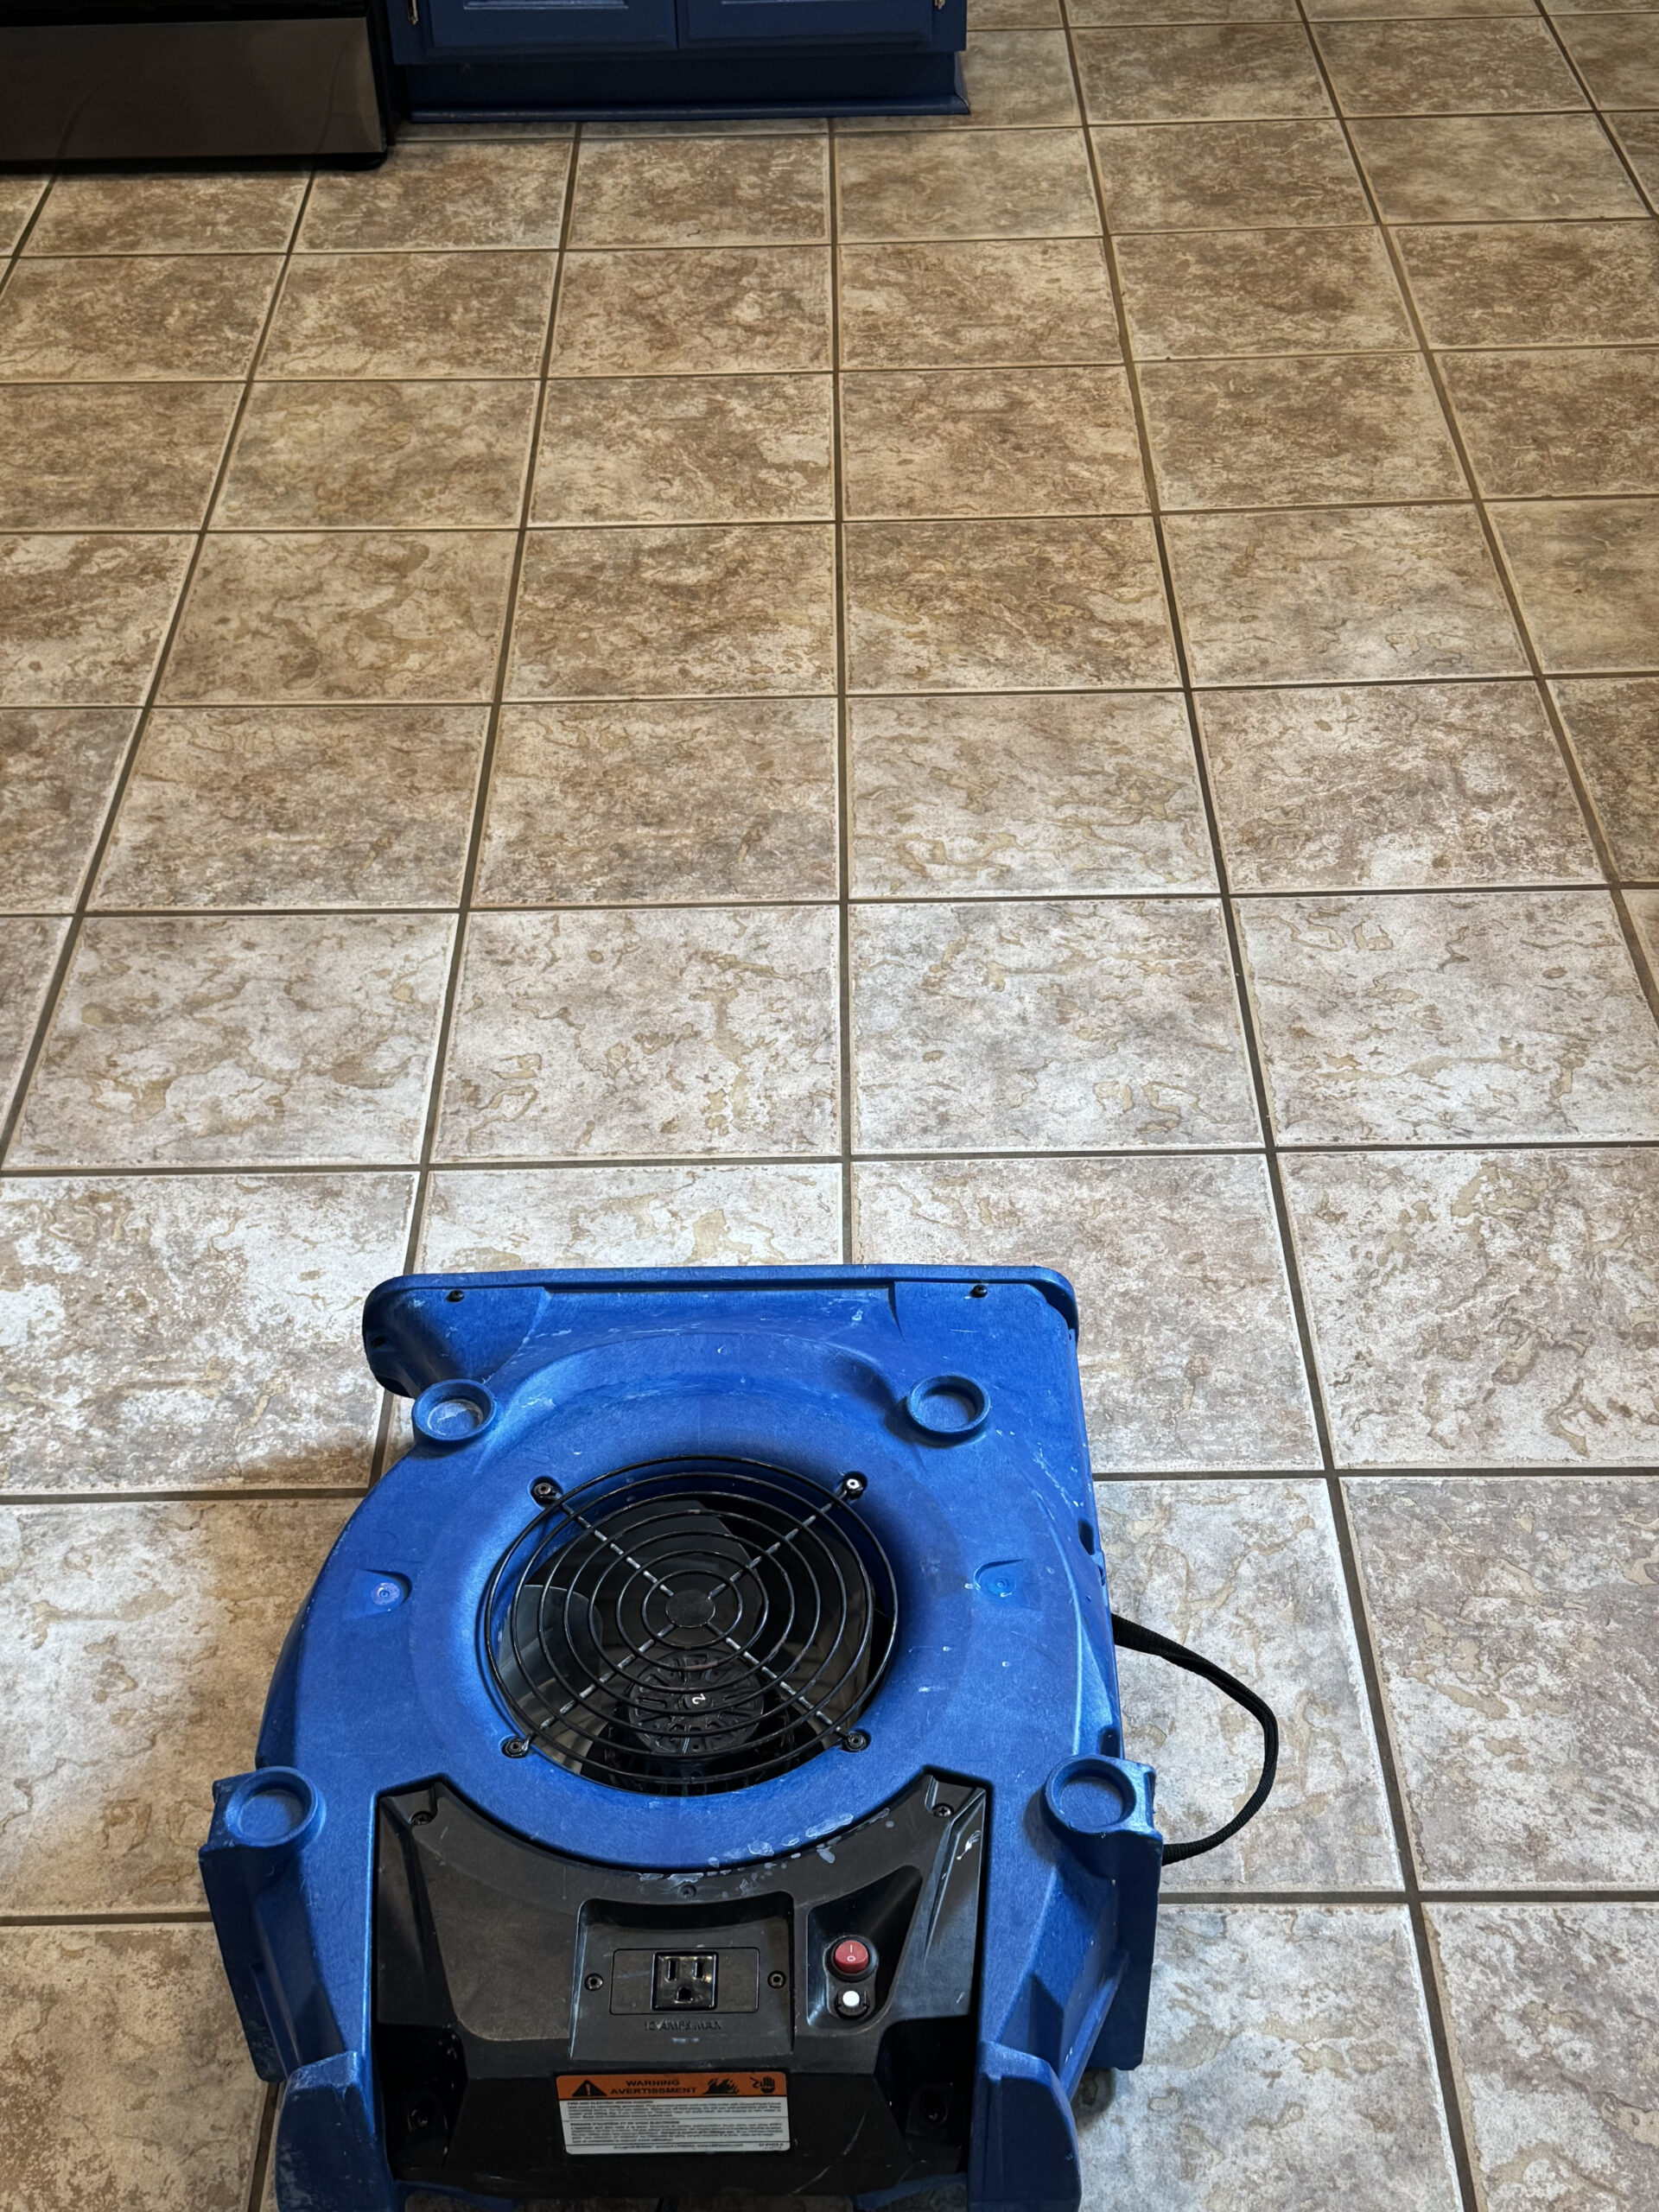
Grout lines need time to dry before foot traffic resumes normally, and before any sealer can be applied. Drying time varies based on humidity, ventilation, and how saturated the grout was to begin with.
Step 7: Final Walkthrough and Sealing Discussion
Once everything is dry, the technician does a final walkthrough to confirm the results and discuss whether sealing is a good fit going forward. For grout that’s clean but has lost its original color uniformity, grout color sealing is often the recommended next step rather than living with uneven-looking grout between cleanings.
How Long Does This Actually Take?
Timing depends heavily on square footage and soil level — we cover the specifics in How Long Does Tile and Grout Cleaning Really Take? The short version is that most residential jobs are completed in a single visit, though heavily soiled floors or larger homes may take longer.
What You Don’t Need to Do to Prepare
Most homeowners are surprised by how little prep is actually required. Clearing loose items and furniture from the floor area is usually all that’s needed — the technician handles the rest.
Proof: Real Tile and Grout Results in Austin Homes
We’ve walked this exact process across homes throughout the Austin area, including a 16th-floor downtown Austin condominium, where portable equipment had to be brought up to restore porcelain tile and grout that years of soil buildup had dulled — proof that the same step-by-step process holds up whether it’s a single bathroom or a full high-rise unit.
We Are Austin’s Complete Floor & Surface Care for Your Home
Beyond slate, we offer a full range of professional services to keep every surface in your home looking its best — from deep tile and grout cleaning and grout color sealing, to carpet cleaning, upholstery cleaning, and wood floor cleaning. For other natural stone, explore our marble, travertine, limestone, and terrazzo services.
Ready to See the Process for Yourself?
Now that you know what to expect, the only thing left is seeing the results in your own home. Contact Santa Fe Floor Cleaning & Stone Care at (512) 632-1621 or request a free estimate online — we’ll walk you through exactly what your floors need before we start.